Screen Printing vs. Digital Printing

 
t-shirt-printing.jpg
 

The art of screen printing has been around since the late 900s, and as with any industry that gains popularity over time, innovation is no stranger to the world of printing. With so many print styles to choose from, it isn’t always easy to match the right style with the right project. No one understands how difficult this decision can be more than us at Family Industries. With over a decade of experience, we’ve seen it all.

The two most popular forms of apparel and art printing are Screen Printing and Digital Printing. For some, the differences in the finished product can often be indistinguishable. However, the contrast between these two styles extend far beyond the print itself. That’s why we thought we’d take a stab at helping you figure out which print style works best for your next order.
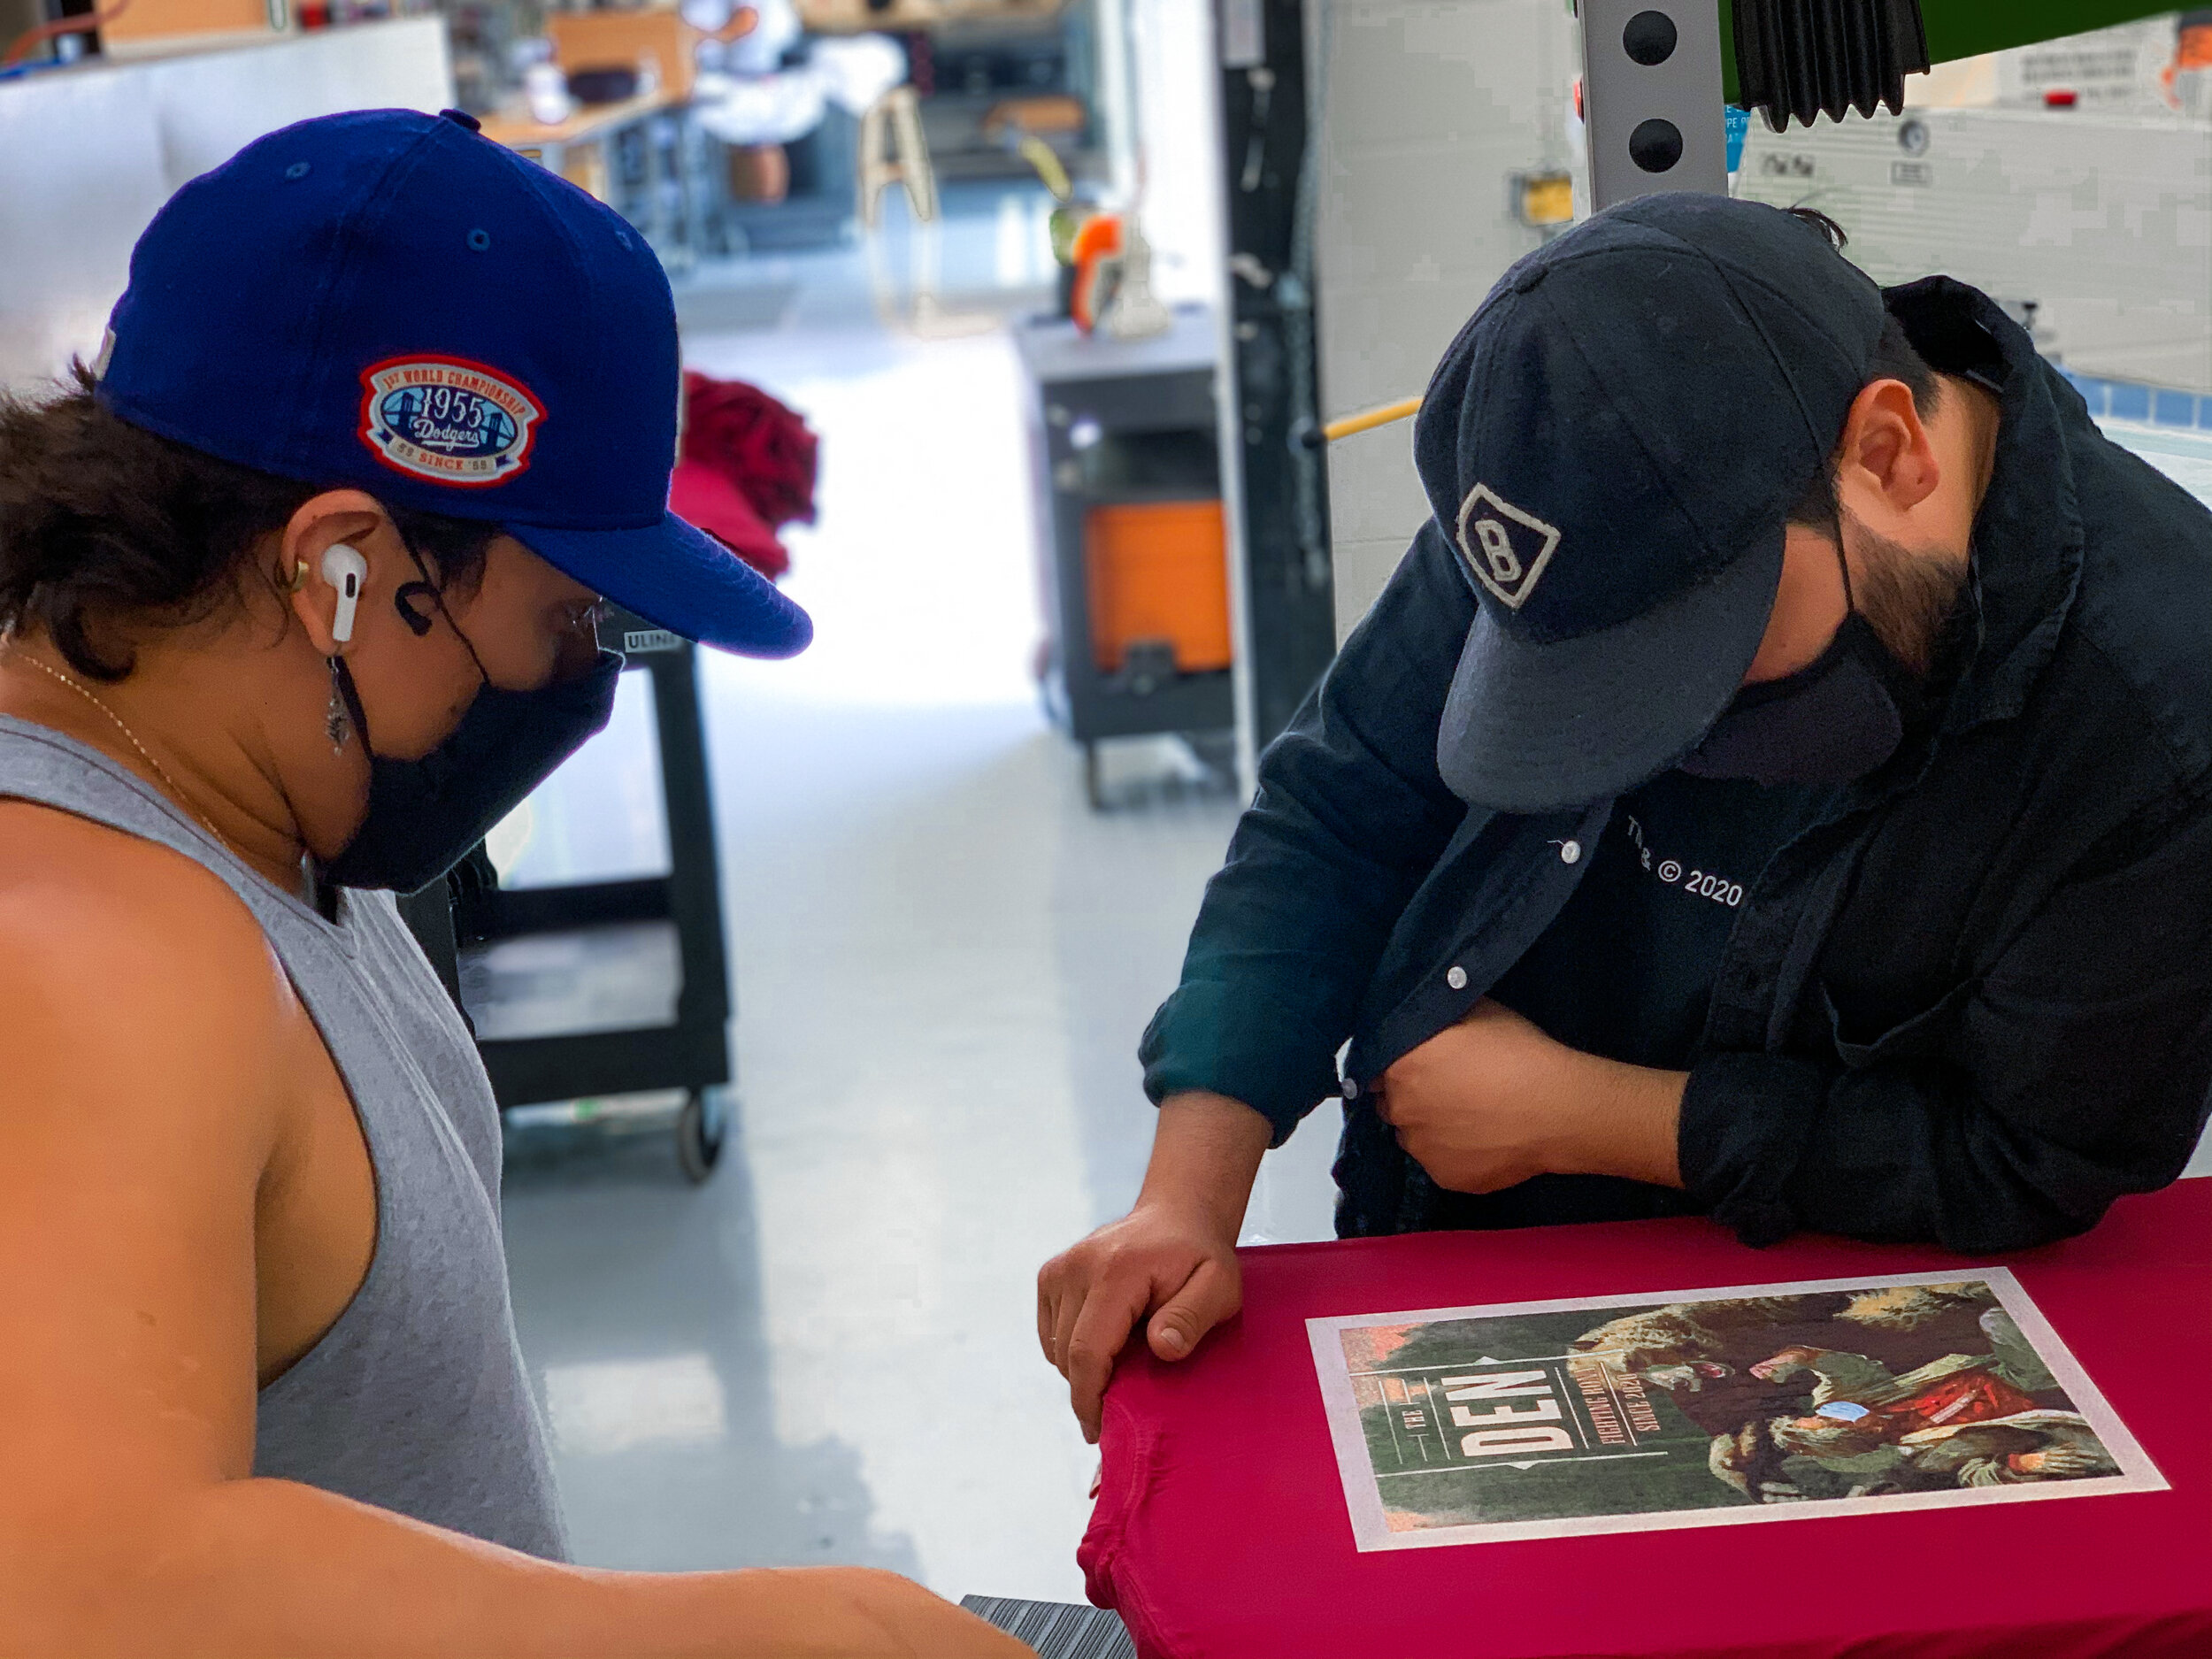
Screen Printing

What is Screen Printing?

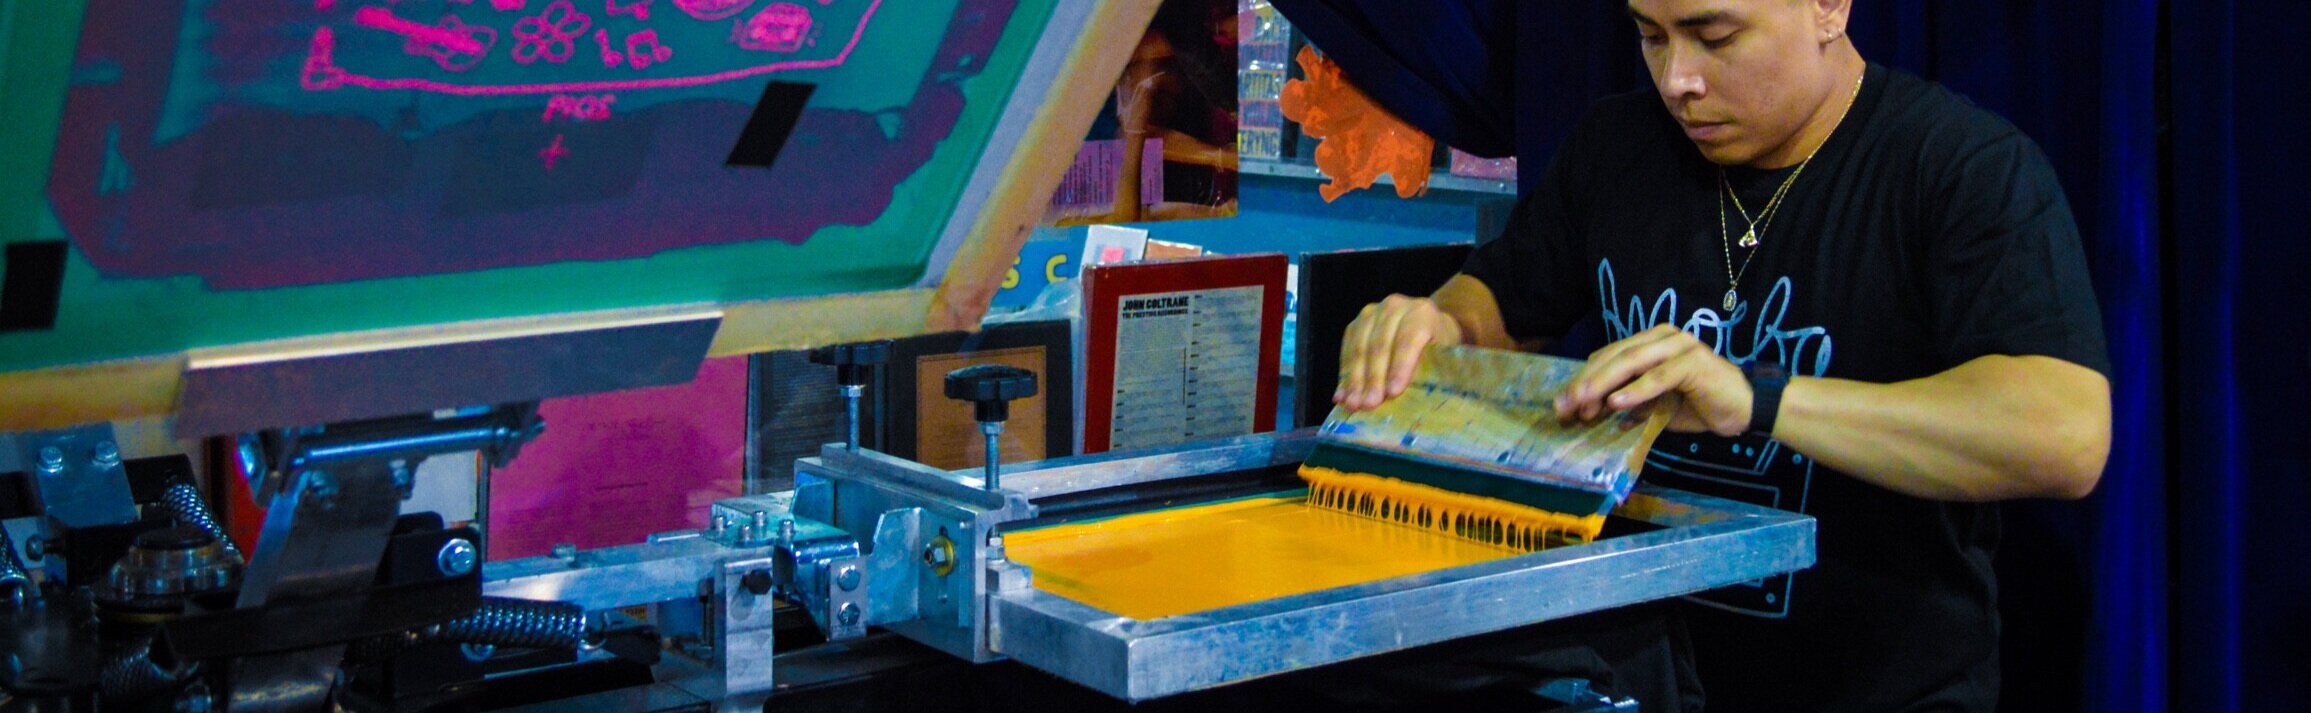
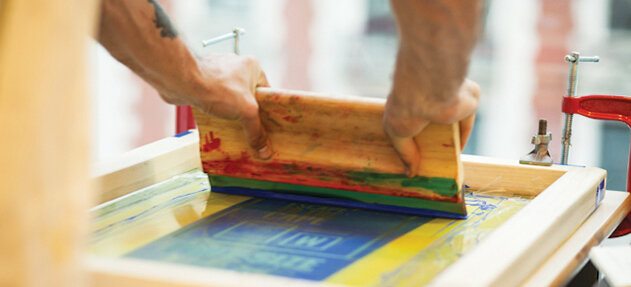
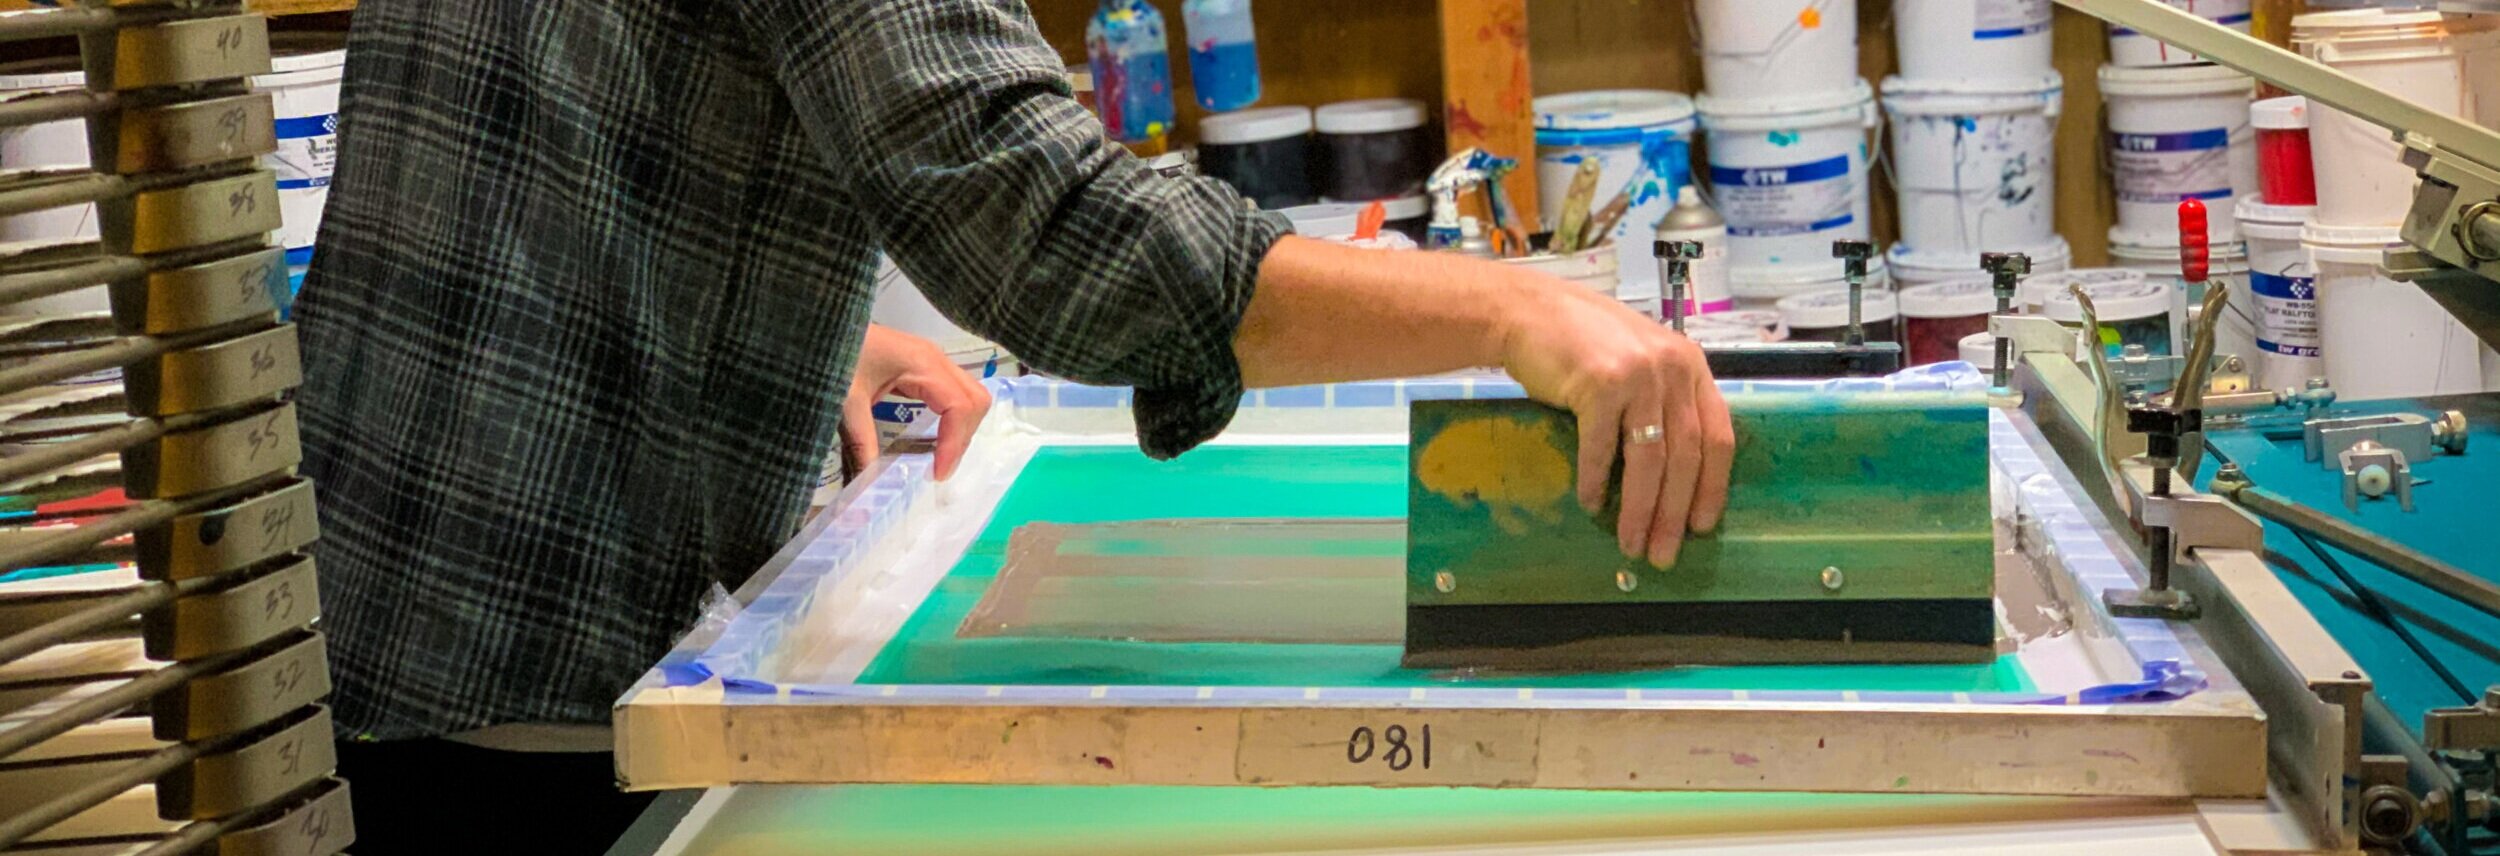
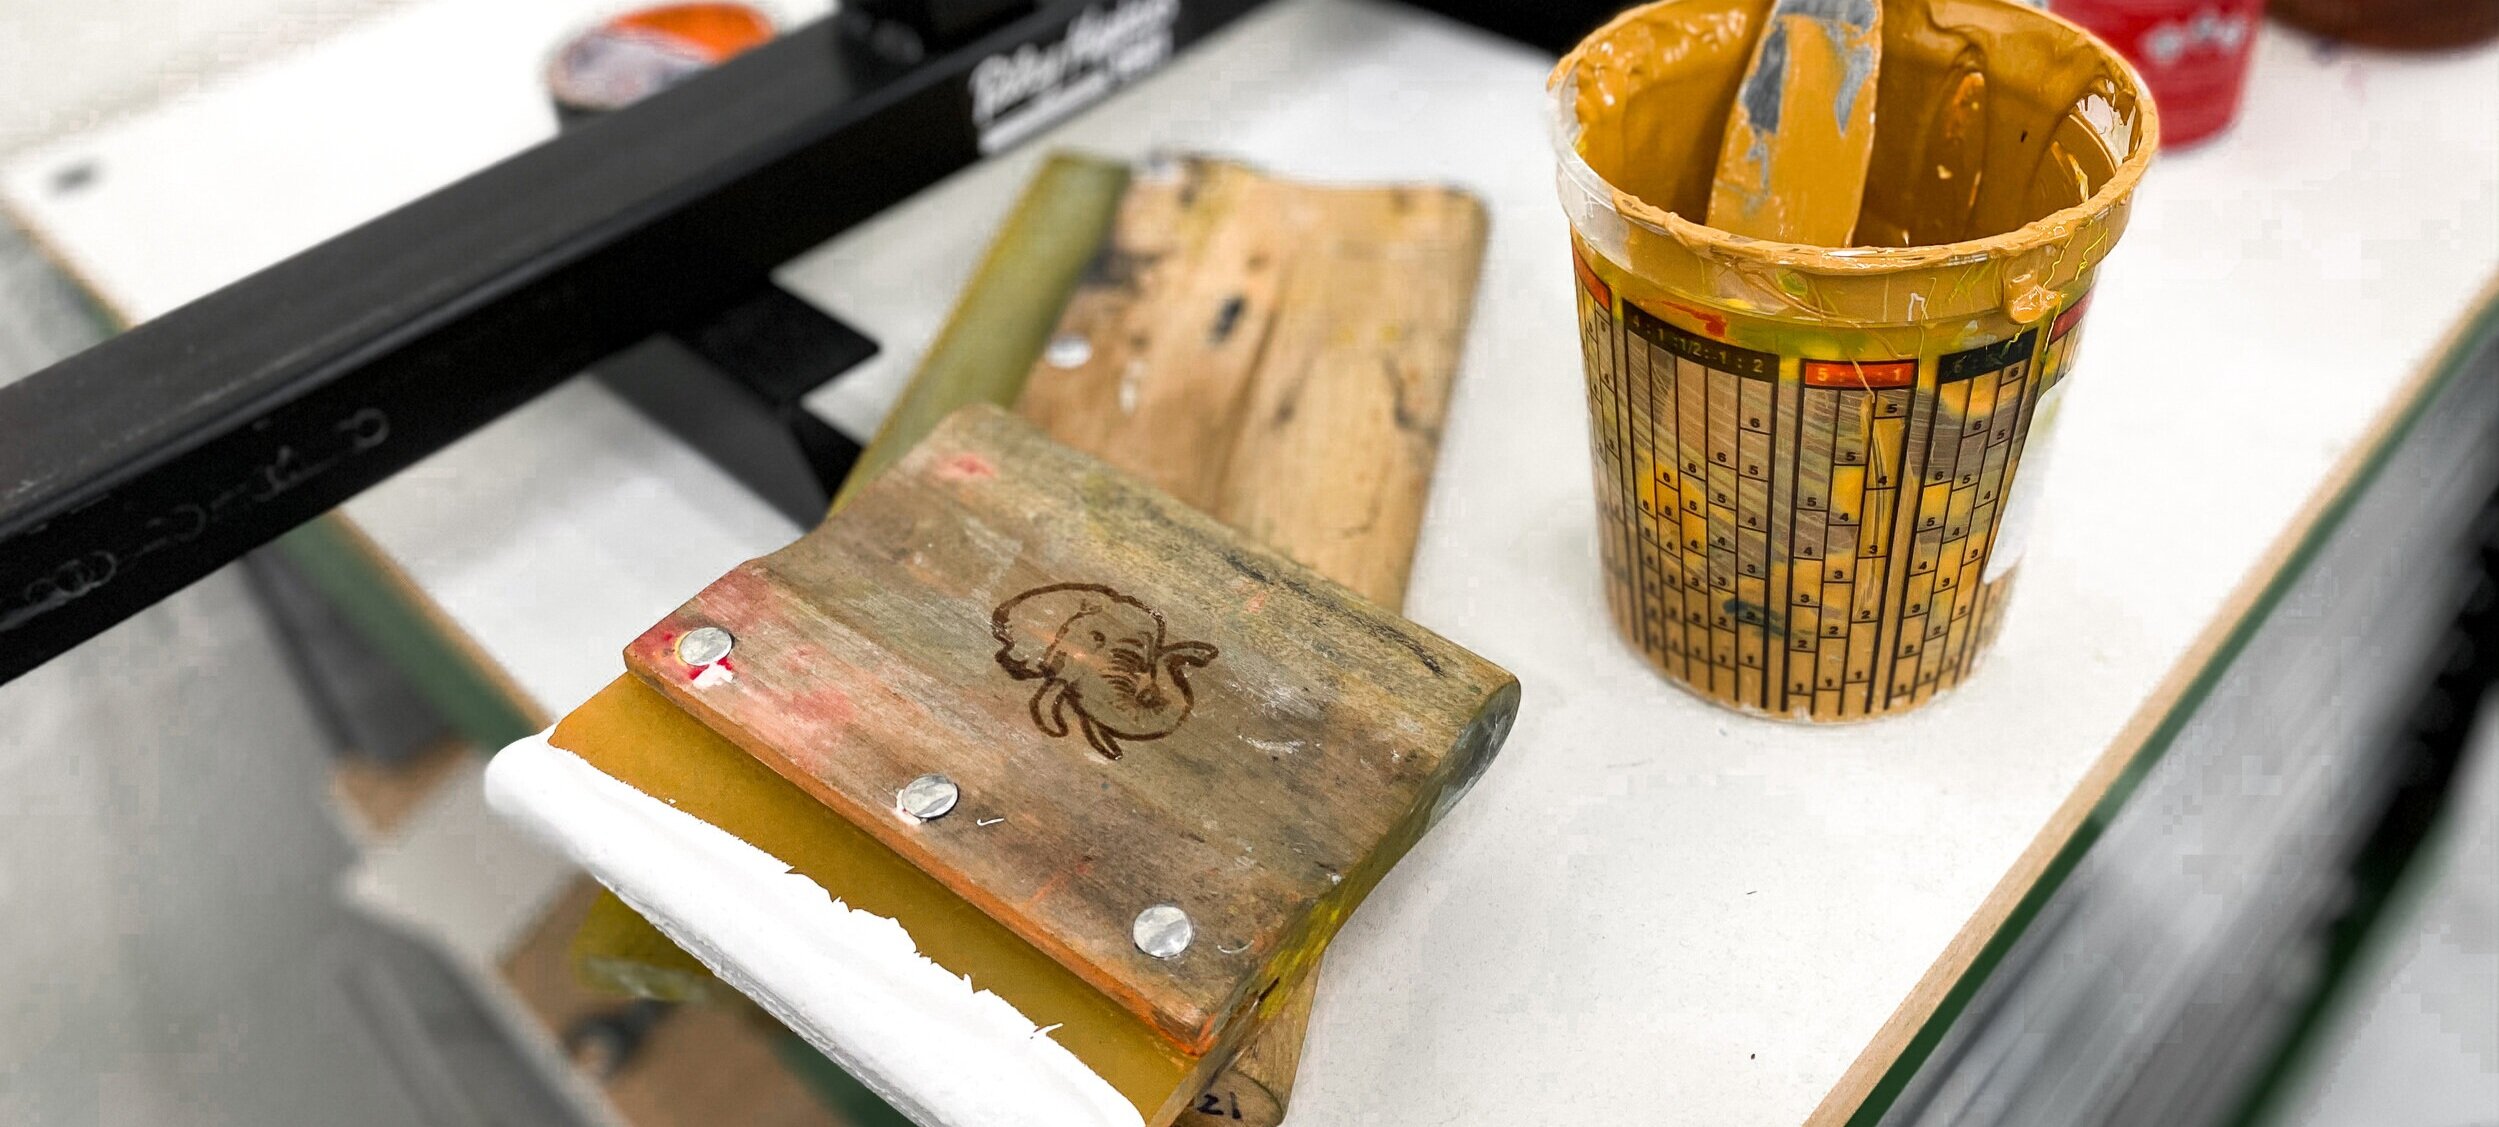
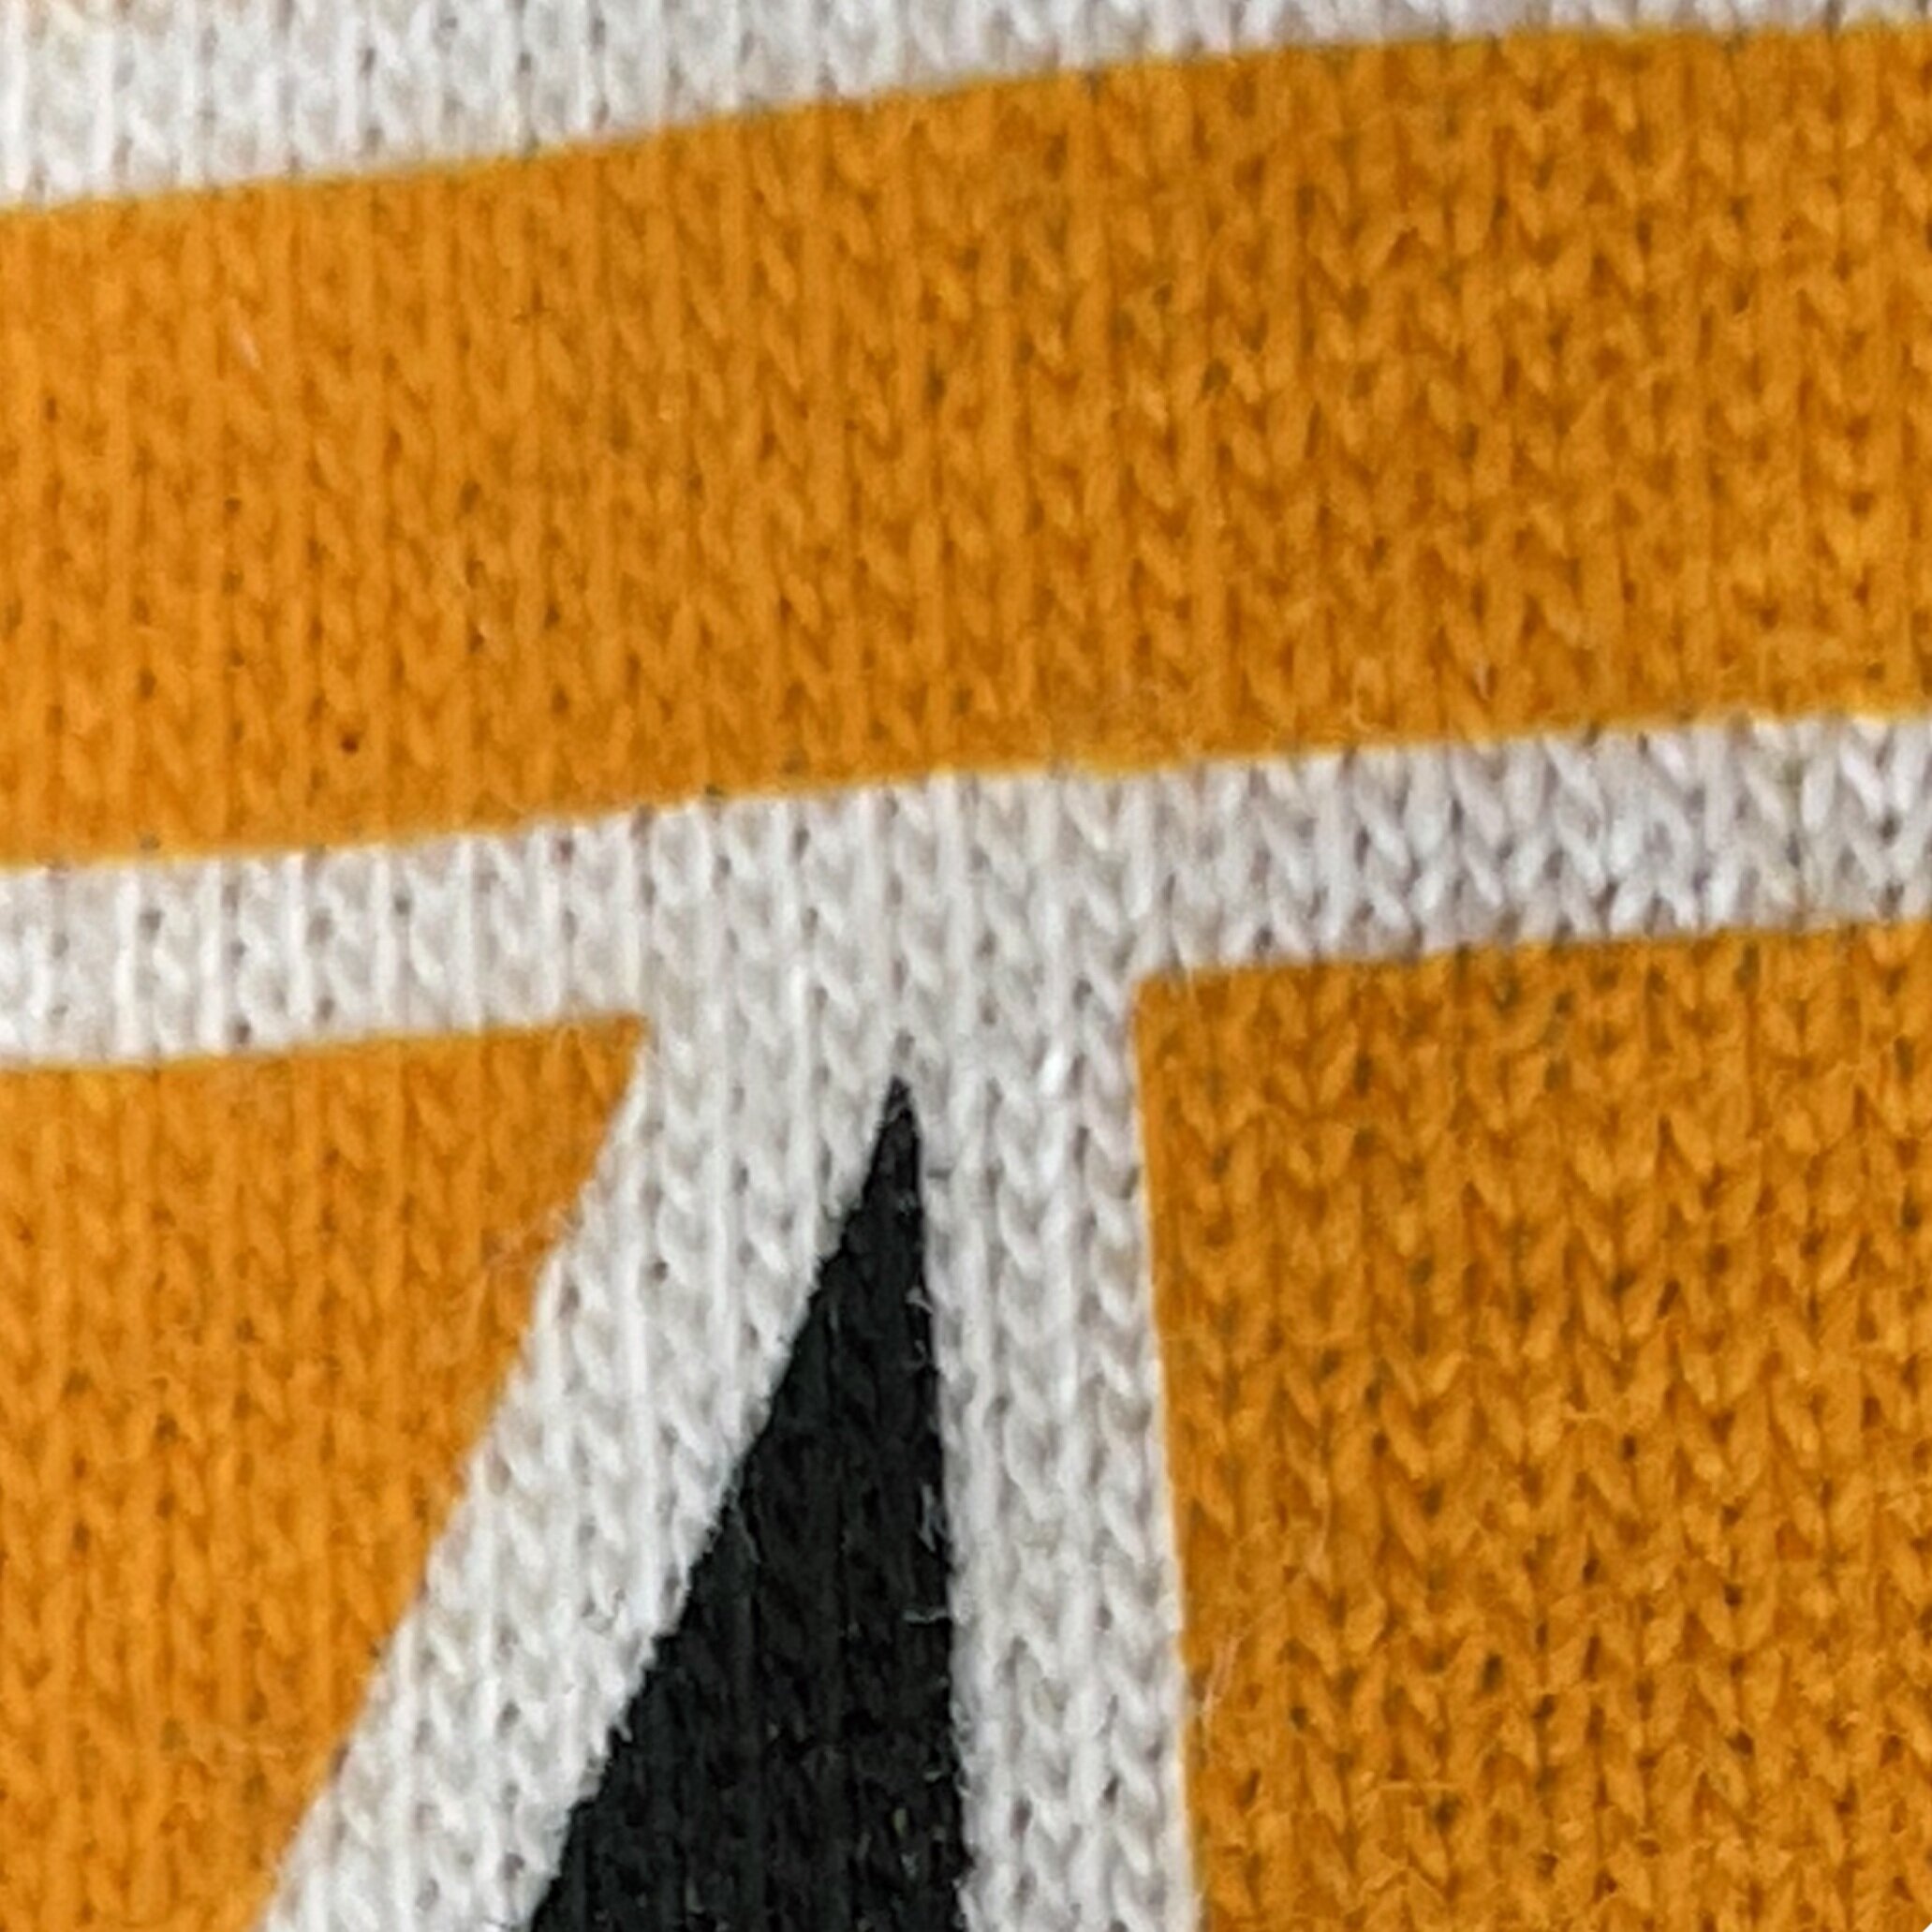
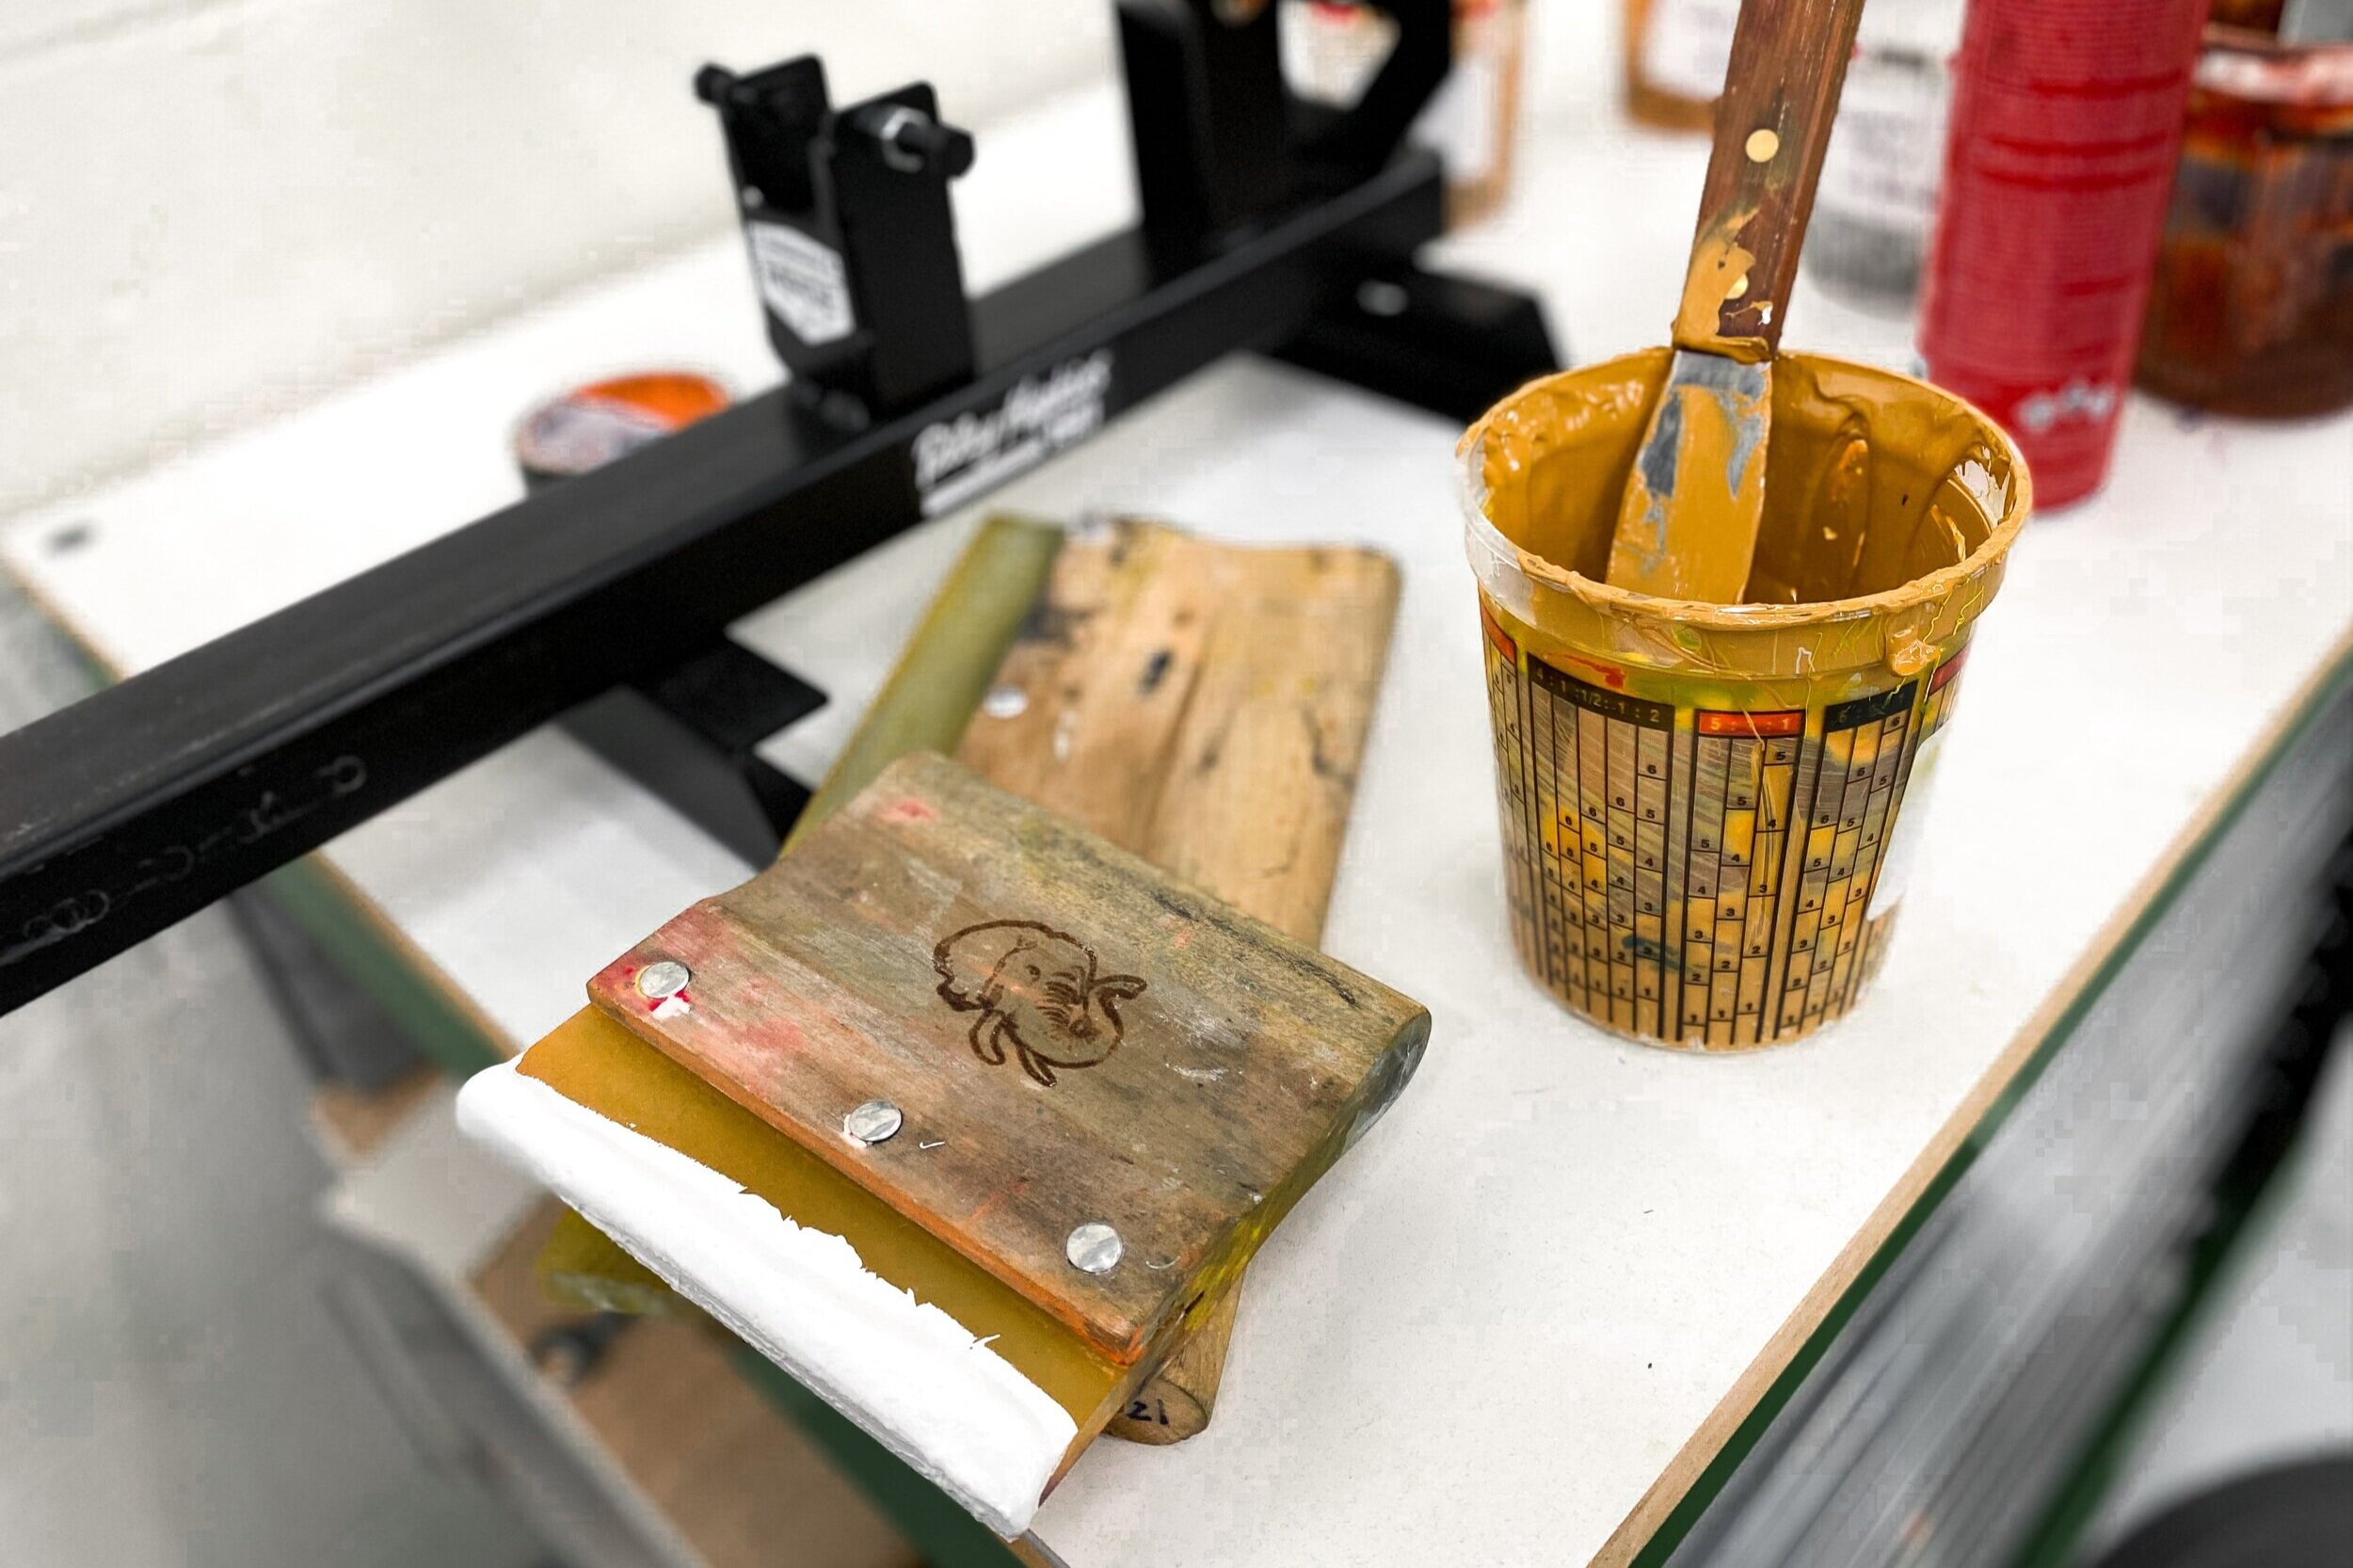
The screen printing process involves a silkscreen with your image. The inks are applied by color and by layer unto the printing surface one at a time. Screen printing is very versatile, and the technique can be used to print on many different types of material such as textiles, plastic, and latex. Check how does screen printing work?.

Screen printing is the most widely known and used method, as it has been around for a very long time. Technology has made some advancements in this method to speed up the process but its main functions have not changed, it is still ink being pushed through a stenciled screen.

Screen Printing Pros

  • Color vibrancy - Screen printing uses Plastisol inks and water-based inks, which are the most vibrant colors available, while digital printing is limited by the CMYK color gamut. It is also easier for screen printers to match the exact color, especially when using the Pantone Matching System.

  • Durability - Digital prints can deteriorate as you wash your clothes, especially if you are washing with hot water. While screen printing does not have this problem, if done correctly, your print will retain its color and vibrancy for a long time.

  • Versatility - With screen printing, you have the ability to print on many different textiles, garment styles, print locations, and placements. While digital printing is limited to the type of textiles and placement.

  • Special effects - From raised print to texture, shine, sparkles, or glows, there’s a special ink or additive that can do it and it can only be done with screen printing. Digital printing now has some specialty inks but they are not widely available or as easy to accomplish.

    Check out the different types of special effects possible with screen printing:

    • Water-based
      Absorbs into the fabric for a very lightweight and soft print.

    • Discharge
      Chemically removes the dye from the pigment of the fabric.

    • Puff
      This additive expands while being cured, for a soft, raised feel.

    • Fluorescent
      Very bright neon colors, also known as “day glow”.

    • Metallic
      Popular ink for a shiny look. Typically in gold, silver, or copper.

    • Glitter
      Contains glitter for a sparkly look, often combined with a clear gel.

    • Glow-in-the-dark
      Almost clear, light-activated ink that glows in the dark.

    • Suede
      Similar to puff, but creates a soft and fuzzy texture to the surface.

    • High-density
      Creates raised layers of rubber-like ink for a 3-dimensional print.

    • Soft Hand
      Additive for reducing the thickness of ink for a softer feel.

    • Clear Gel
      A thick glossy coating that can be used in combination with others.

    • Shimmer
      Creates a unique reflective, iridescent shine.

    • Crackle
      Splits and cracks during curing for a naturally distressed look.

    • Plasticharge
      Combines the best of Plastisol and discharge.

Digital Printing

What is Digital Printing?

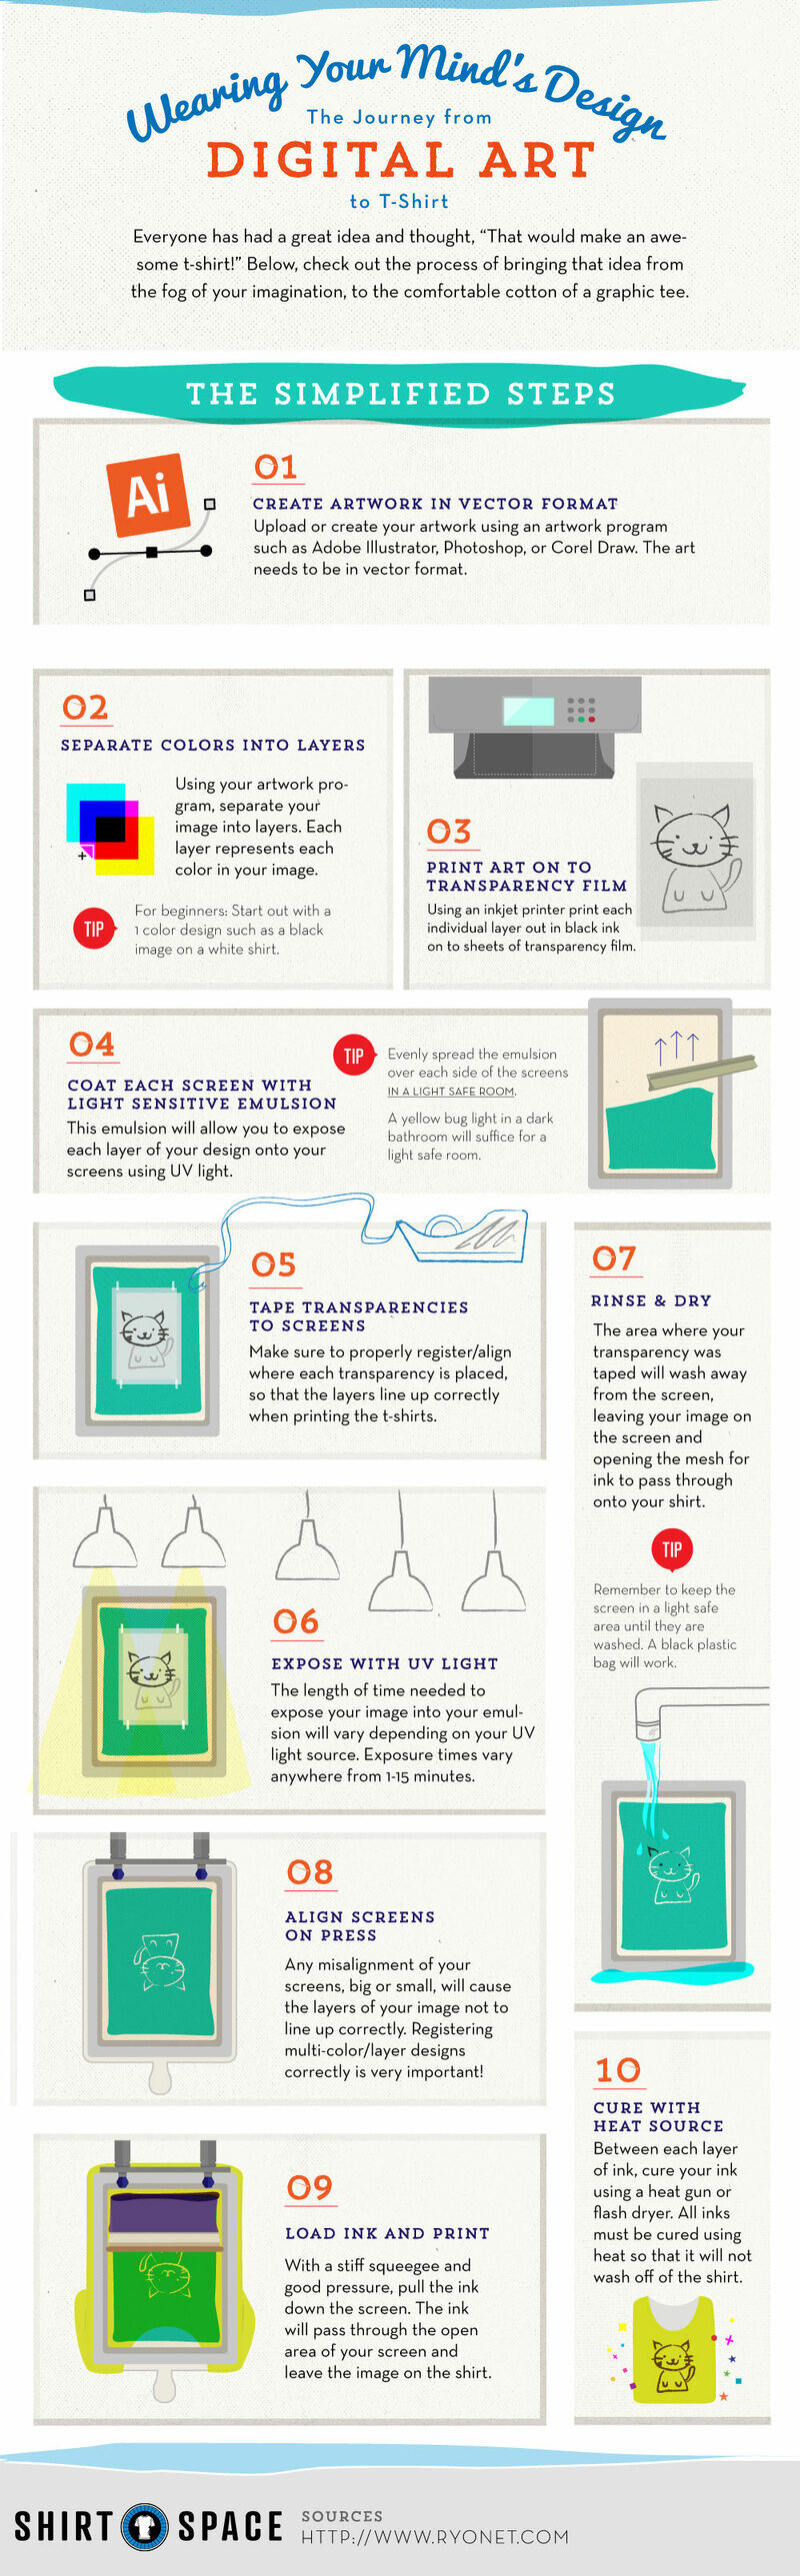
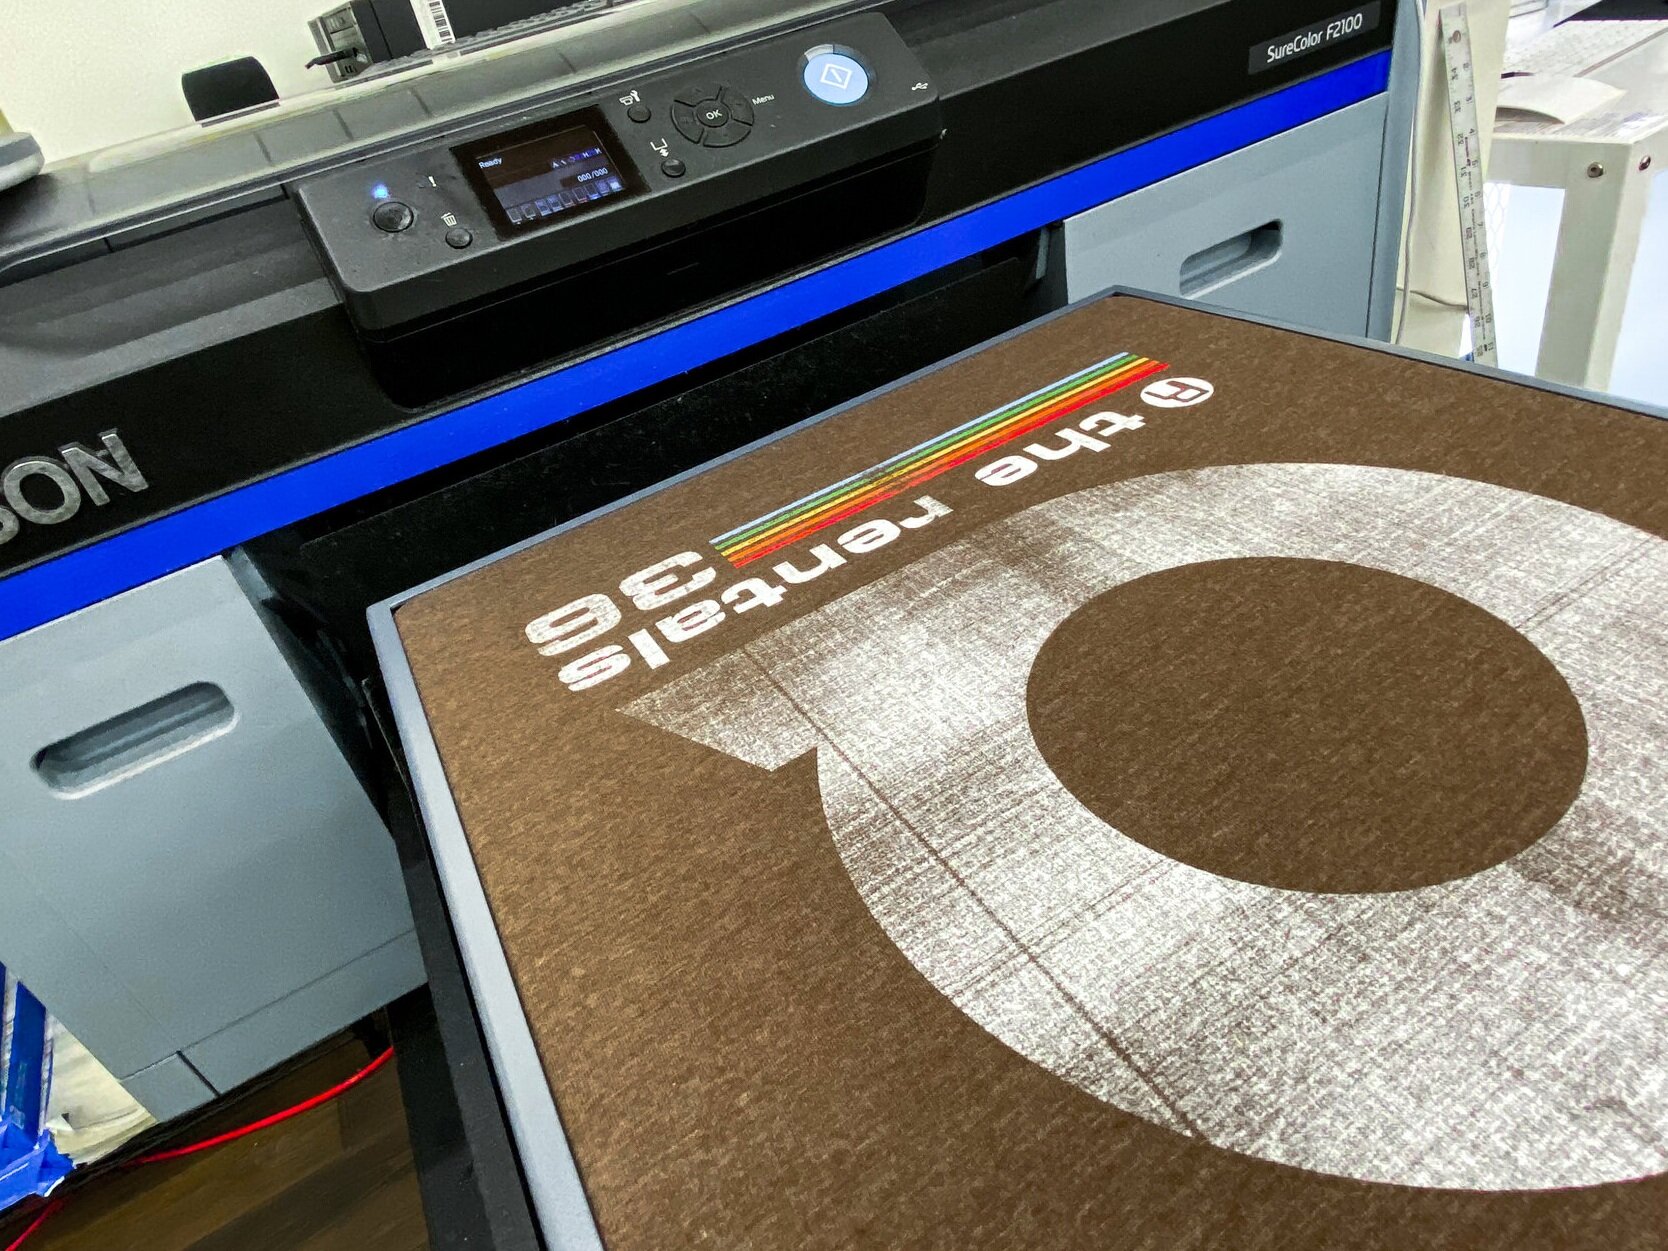
This process is much newer and involves specialized inkjet printers developed to print textile inks. The image on the screen is converted into a format that can then be printed unto the surface required. Digital printing is typically used when the print requires more details and this method is very versatile as it can be used on any type of surface. Check out how Digital Printing works.

In the Print Industry, “digital printing” is more of a term than an actual method of printing. In the world of Screen Printing, “digital printing” is typically referred to as “Direct to Garment”. While Screen Printing has been around for centuries, Direct to Garment printing has only been around for about 15 years. As society has grown more impatient over time, people are always looking for instant gratification. The majority of online on-demand printing companies use this as a primary method because of the speed and accuracy with minimal set-up.

Digital Printing Pros

  • Details - Designs with a lot of detail or photographs usually require a more precise and clear print. These types of designs are better candidates for digital printing.

  • Color Blending - Photographs or intricate designs will require color blends that may be more difficult to achieve with screen printing, for this reason, digital prints would be a better option.

  • Consistency - Your print is most likely to be consistent all throughout when printed digitally as the file is set-up by a computer and the consistency of the ink is distributed at the same rate for each piece.

  • Quantity - Digital prints require less of a set-up, therefore, allowing for a much-limited amount of prints to be done, while most printing services have a minimum quantity for screen printing.

So, Which Print Method is The Best?

The best method depends on what you intend on printing and the surface. The look is different as the digital printing allows for a more precise, crisp, and detailed print while screen printing provides a more authentic, softer, and retro look. Because both methods are good and serve different purposes, here are a few things to consider before making your decision.

  1. Quantity: Digital printing allows for a smaller quantity to be printed while screen printing will usually require a minimum.

  2. Apparel: Screen printing has more versatility when choosing your fabric. For digital printing, it is advised to print on 100% cotton or other select cotton blends and only certain colors.

  3. Design: Photographs or hyper-detailed images with a lot of colors are usually better printed digitally. However, if you have a large number of shirts you would like to print, screen printing may still be an option but it may cost you a little bit more or may require some adapting to make the design work best.

For some people it may come down to cost, so we will take you through what will dictate your cost based on several factors for both methods.

  1. Apparel: The type of apparel can range from value to premium options and depends on the style and brand.

  2. Print Locations: There is the option for 1 or 2 locations, which would be the front and/or the back (for a t-shirt or sweatshirt).

  3. Fabric Color: For screen printing on darker color fabrics, a white layer before your print is necessary and may cost a little bit more.

  4. Number of Colors: The more colors your print requires the higher the cost is for screen printing, however, if you have a large quantity, this cost may be a lot lower as you can have access to deeper discounts.

  5. Quantity: With screen printing, the number of pieces will dictate the majority of your cost. This is the most important factor that will most likely dictate the right method for you.


Author: Irene Floridia - Content Creator

Need more information? Hit us up! and we will be glad to walk you through the process.

Are you ready to make a choice and place an order? Click Here!

Different Types of Screen Printing Techniques

31A388A2-3469-40DF-B89A-9D7A12E8FFD8.jpg

Screen printing might sound like it’s a straightforward process but there are many print effects that can be achieved with the right technique. The different screen printing methods are used to create a specific look to fit with the style you’re looking for. In order to achieve certain looks, you may need to adjust your artwork file or overall design. Don’t worry, we will take you through those steps!

In this guide, you will find the best T-shirt printing methods explained, exploring how each method works, the process, and the end results. Each of these methods are widely used by screen print shops around the world.

About Screen Printing

IMG_8615-2+%281%29.jpg

Screen printing is one of the most popular, established, and widely used amongst print shops. The process involves using screens to apply ink to apparel and other various materials. Also known as silkscreen printing, screen printing is a versatile and effective printing method that allows you to produce T-shirts with outstanding quality and a tactile feel. And, because the inks are absorbed deeply into the fabric, it is possible to achieve vivid, bright colors and maximum durability.

This is one of the most traditional methods of T-shirt printing, with experts believing it dates back as far as ancient China. However, it became popular in the 20th century, when Andy Warhol used the technique to create his iconic Marilyn Monroe portrait. It has since been used to create flatstock such as band posters, art prints, and graphic tees.

What Is The Screen Printing Process?

screen-printing.jpg
  • Design Creation

    • Screenprint designs are often done using various software such as illustrator. You will want to ensure your file is in the right format before you begin creating your design. Size is very important and you will want to ensure the file can be re-sized according to the print surface.

  • File Formatting

    • Vector files are needed to create a perfect print. Vector files are mathematical calculations that create lines and figures on our monitors. Unlike working with pixels, you can expand or minimize these vectors as much as you want, without impacting the quality. As well as being saved as a vector, the artwork must also be separated, with each color on a different layer. This is because, in the screen printing process, each tone is printed using a different screen.

  • Screen Preparation

    • The screen needs to be coated with a photosensitive emulsion. This creates the green background you might have seen on a screen printing screen. This is a simple process but must be done carefully to ensure that the liquid is distributed evenly.
      For the photosensitive emulsion to work properly, it must be left to dry in a cool, darkroom. If the emulsion is exposed to light at the wrong time, it could jeopardize the full process.

  • Stencil Creation

    • Once the screen is dry, the design is placed on top of it and secured in place using an adhesive. The screen is then placed under a strong source of UV light. The parts of the screen that haven’t been covered with the design will harden, while the rest will remain soft. In effect, the design has now been burned into the emulsion. When the screen is fully dry, the design can be removed using a small brush and water. A negative component of the artwork will be left and the artwork is ready to be printed using the preferred ink and technique to achieve the right look.

  • Color Separation

    • If your design features more than one color, the process is repeated so that each color in your design is separated into individual layers on different screens. So, if your design has two colors, you’ll need two screens.

  • Application

    • Now that the screen is ready, it’s time to start the actual printing. The T-shirt will be placed in the screen printing machine, with the screen carefully placed on top. The ink will then be placed on top of the screen and evenly distributed across the surface using a squeegee.

Learn more about the life of a screen from The Metropolitan Museum of Art

What Are The Different Types of Screen Printing?

image.jpg

With screen printing, you can create different finishes such as crackle or glow in the dark, but there are also different techniques that can be done to create a specific look for your print. These different techniques are used when you have a specific look in mind or you’re looking for a specific or unique aesthetic.

Spot Color Screen Printing

Spot Color Screen Printing is the most common t-shirt printing method. It uses the stock color of the ink by printing it through the stencil of the screen. It produces a vibrant solid spot of color and creates a thicker layer of ink depending on the ink and mesh count used.

Being it is one of the most beneficial in printing darker garments. It is useful for printing 1 – 4 colors; when you have more spot colors, other printing methods such as the simulated process may be a good option.

Because spot colors layer an infinite amount of colors, they can provide a much more vibrant and detailed print. In addition to the variety of options, spot colors provide much better consistency from print to print. When printing a solid color with process inks, there may be slight variations in the color balance that can affect the color’s consistency. While spot colors may cost a bit more, they can add a lot to your project making the extra cost well worth it in the end. Check “How To Screen Print: Spot Color”.

Halftone Printing

Halftone prints are single or multiple colors in which gradients are printed. These tones can range from solid spots to halftones of the same color. This screen printing method is excellent when you want to achieve the look of multi-color printing without actually doing it. This screen printing method emphasizes the use of shading with tiny dots, pictures can be printed using halftone screen printing and only use one single color to do so.

For example, if you want to get a pink radiant color on your white t-shirt, you can print red on a white shirt and include a 50% gradient. The 50% gradient will mix with the white to give it a pink appearance, all using only one screen and one color. It improves the graphics quality and produces a softer feeling print when printed directly onto the garment. Check “How To Get Started Screen Printing with Halftones”.

Grayscale Printing

Greyscale printing is a great way to print full-color images as one-color grayscales or halftones. Full-color photographs can be printed as a one-color halftone. Full-color drawings containing a complete range of different colors may also be produced employing a one-color halftone.

Typically it’s done in black ink on a light garment, but technically speaking, it can be done in any color ink as desired. The resolution will depend on the lines per inch used in the dot pattern.

The more dots a halftone has, the more detailed the print will look. It is a great cost-effective screen printing technique to print black and white photographs on garments. Watch “Convert a full color image to grayscale for screen printing using halftones”.

HOW IS HALFTONE PRINTING DIFFERENT THAN A GRAYSCALE?

Halftone printing is different than grayscale printing for several reasons. The first is the fact that halftone printing involves using one color to create various shades and portray the desired image as a result. Grayscale printing, on the other hand, is the specific use of gray shades from black and white.

Duotone Printing

Duotone printing, also known as multitone printing, is the combination of two halftones for the same image printed with two colors. First, a black halftone is printed on white tees, and then a second halftone will be printed with color ink.

The color halftone combines with the black halftone to produce a duotone color hue. It gives a retro and cooling effect to the prints on light-color garments and gives a full-color print appearance but at a much less expensive rate. It also produces a softer feel print when printed onto the garment.

This process requires that the press be set up with special inks, usually PANTONE-designated colors, instead of the standard CMYK inks used for process color printing. Check out “Creating and Separating Duotone Images”.

CMYK Printing

CMYK is the oldest, color reproduction, print method. Using cyan, magenta, yellow and black ink, screen printers can print designs on white or light-colored garments. For users skilled in CMYK file preparation, Photoshop, and screen creation, this is still a viable print process for light-colored garments.

CMYK printing is the most complex of all screen printing techniques and should be done on an automatic press. It can be done manually, but for optimum results, you need an automatic t-shirt press.

The printing process combines the above four colors to recreate the original image’s full tonal and color range. Moreover, it is an expensive process. Additionally, CMYK is implemented less because simulated printing is more dominant. Watch “How To Screen Print T-Shirts in CMYK”.

Simulated Process Printing

A simulated printing process is a method used to reproduce almost any image on the market. It does so by overlapping and blending colors in a method similar to CMYK through using halftones and spot colors and/or PMS colors. Essentially, it's a way of taking an image that historically would have been printed via CMYK but instead uses more opaque ink to create a more stable color and production-friendly ink that can print almost any design for any garment.

Moreover, it is most often the process used to print complex images on black-colored garments. Designs that are too difficult to separate in a vector program, raster images, photographs, complex tonal illustrations, are all doable with Simulated Process. Watch “How to Screen Print: Simulated Process”.

Learn more about the different screen printing methods “CMYK vs. Spot Color vs. Simulated Process Printing”.

Author: Irene Floridia - Content Creator


Share This Article:

Follow us on Instagram and Facebook!

For FAQ, check out our site!

For any inquiries, send us a message!

OR

send us an e-mail at quotes@familyindustriesla.com

Our showroom at 2755 Fruitdale Street, Los Angeles, CA 90039 is open by appointment only from 10 am - 4 pm Monday through Friday.

Screen Printing 101: Techniques

IMG_4835.jpg

So you’re wondering what it would take for you to be able to make your own print? or you’re wondering how Family Industries makes perfect prints? We’ll take you through the steps necessary to achieve a flawless screen print as well as show you how we do it at the Family Industries HQ.

In this article, we will also take you through the different techniques used for specific outcomes and all that will be necessary for you to achieve them which would include equipment and other factors such as time and effort.

How To Get Started

We’ll take you through the fundamental tools you will need to begin this process. Although you can buy ready-to-use kits from websites such as screenprinting.com - you can always find DIY ways to make your own setup.

Check out Create Custom Screen Printing Designs at Home

43429-group3ww-l.jpg

The Screen

Choosing the right screen mesh can be confusing, a 110 to 160 mesh count screen is the most versatile and the most commonly used in screen printing. We recommend that for prints that are up to 3 colors a 160 (61cm) to 180 (70cm) monofilament mesh screen is best, ensure that they have very well made wood frames that have been purchased with the fabric or mesh already attached (pre-stretched) OR you may also use a metal retentionable screen.

Here’s how to make your own screen

press-starter-blue-1-xl_1_500x500.jpg

The Press Set-Up

The screen needs to be placed on the press and squared to the shirt board. This is as simple as placing a t-square under the frame and looking through the screen to square the image on the frame to the edge of the board. Now when you make a print it will be straight to the board.


green-galaxy-cryocoat-gal-min-xl_1_500x500.jpg

Emulsion

A big part of the photostencil phase of the production cycle, screen printing emulsion is the light-sensitive liquid or capillary-direct films that you coat or adhere to the degreased screen fabric prior to taping your film positives in place.

There are a few choices to pick from when it comes to getting the right emulsion and it has to do with certain variables. Learn about what type of emulsion you will need according to your setup and experience level.

printing-ink-500x500.jpg

The Ink

Most inks on the market are too thick to print easily by hand and they generally need a slight amount of reduction – or thinning – to make it work better. Thinning does not mean making it softer it means adding a curable reducer rather than a "soft hand" additive. A small amount of reducer will make the ink more workable.

If your print is a three-color print, it is recommended to thin the lightest colors a little more than the darker colors. This will generally be the first color in your print and it needs to penetrate into the garment more than the others, this way, it will not pick it up on the bottoms of the other screens. If black is your last color, you can thin it less. It needs to lay on top of the other colors and it will blend in with the under colors if it is too thin.

Plastisol ink tends to get a little thicker when it isn't in use, so you should always stir the ink before you begin thinning it. By stirring the ink you will find out if it really needs thinner. We recommend an ink that is smooth and creamy to one that is so thick that you break the stick trying to stir it.

Beta-Chemical-Screen-Squeegee.jpg

The Squeegee

We highly recommend a triple durometer squeegee that has a harder center around a softer outer edge. These give you more control, especially if you have a lot of strength and try to flatten the blade as you make the print (you don't want to flatten the blade). You can also pick up an "old-fashioned" medium hardness blade with a sharp edge and make a great print. A sharp edge shears off the ink cleanly and will make a sharper print than a dull edge blade. If you are a messy printer, you should use the wider 5" handles. These will help keep your fingers out of the ink.

Choose the right squeegee for your screen print job

Techniques

There are technical applications we recommend and we’ll go over details as to how to print once you have your equipment all set up and ready to go.

IMG_6712.jpg

How Much Ink Should I Use?

Depending on how you work, knowing how much ink to use takes time and practice. Some people have a heavy pour but they are able to manage the printing process to avoid making a mess, while others tend to be a little less coordinated. The rule of thumb is to pour enough to get a good amount of prints without running dry, but not so much that when you print it all rides up onto the squeegee handle. It is much easier to put more ink on a screen and harder to take the excess out! Start off with a small amount and work your way up to learning how much is really needed and how much you can handle.

How Do I Hold The Squeegee?

Top Grip:

A lot of printers use the standard “two-hand, top grip and pull towards you” stroke. While this works well, it can cause some problems if you are printing all day long. Not only will the tips of your fingers and thumbs be sore (and may become numb) you may also feel tenderness in your wrists. What this could cause is a repetitive motion disorder known as Carpal Tunnel Syndrome.

Some people can print their whole lives and never get this but to minimize the chances of developing Carpal Tunnel, you can use special ergonomic squeegees that force you to hold a wider handle.

Side Grip:

This technique moves the strain from the center of your wrist to your forearm muscles. Simply hold the squeegee by the side and pull it towards you. This works great if you are a short person or of average height.

Push or Pull?

The answer to this question is based on preference. Pulling the squeegee towards you is the standard method, but pushing it away from you is really a lot easier. When pulling the squeegee you use more of your wrists and shoulder muscles. When pushing, you use more of your body weight to push the squeegee. We encourage you to try both and figure out what is most comfortable.

How Many Strokes Are Needed?

You really only need one stroke if your ink is diluted enough and you’re printing on a lighter fabric. If the fabric is dark and your ink isn’t sticking as well as you’d like, we encourage you to do two-stroke. If you find that two or three strokes are not doing the job, it may be that your ink is too thick and will need to be diluted a bit more.

How Much Pressure Do I Apply?

We recommend that not a lot of pressure is applied as this can cause the print to be uneven, if the ink is the right consistency then a medium amount of pressure should do the job.


In Conclusion

Having the right equipment is more than half of the job - buying the equipment and the ink can get expensive, however, if you have a plan and the right design, you can make up the money quickly and begin to profit from your creations.

Practise makes perfect, many techniques can be mastered by just making mistakes and starting over. So, don’t be scared to make errors and having to start over, it’s all part of the process.

Author: Irene Floridia - Content Creator


Follow us on Instagram and Facebook!

For FAQ, check out our site!

For any inquiries, send us a message!

OR

send us an e-mail at quotes@familyindustriesla.com

Our showroom at 2755 Fruitdale Street, Los Angeles, CA 90039 is open by appointment only from 10 am - 4 pm Monday through Friday.

DIY Screen Printing on a Budget

Screenrpint.jpg

So you have a great design and you want to make t-shirts but you’re on a budget and can’t afford a minimum order from a local screen printer? Well, you can get your own setup on a limited budget and we’ll show you how. In this article, we will take you through the essential materials and how to outsource some of those expensive items.

Screen Printing: The Essentials

These are the materials you will need to have a basic setup, later on, we will give you resources on how to either make your own, where to find a good deal, or best practices on how to waste less to get more.

  1. Screen - The screen has a mesh, which is the fabric stretched over the screen’s frame, and is a weave that has tiny holes in it, which allows the emulsion to harden and adhere to it, and also allows ink to pass through the mesh that is open, IE the stencil. The common sizes are 18″x20″, 20″x24″, and 24″x31″, but there are companies willing to make screens to any size needed.

  2. Press - The press holds the screen in place between prints, making it easier for the user to swap out the paper or clothing being printed.

    Learn more about Choosing the Right Screen Printing Press

  3. Photo Emulsion - This is a thick liquid substance that reacts to light. Essentially, emulsion becomes "tougher" when exposed to light, making it more difficult to remove from surfaces. The emulsion is applied to the screen, at least one layer on both sides, using a scoop coater.

  4. Stencil - Stencils are basically opaque sheets, similar to transparency sheets, that the designs are printed onto using a laser printer. The design needs to be as dark as possible so that it blocks UV light from the exposure unit to the areas behind the design. Learn How To Screen Print with Stencils

  5. Ink - We recommend using water-based ink to have the best result. Water-based ink is friendly to the environment, stays longer wet on the screen, and requires little chemicals for cleaning. This ink requires technical expertise. Another option is plastisol based Ink. This ink was the most common choice for a long time because water-based ink is more difficult to use, therefore requiring printing expertise.

  6. Squeegee - A squeegee is a rubber blade attached to a long wooden, metal, or plastic handle. It’s used to push the ink through the mesh screen and onto the surface being printed.

  7. Darkroom Light - For this process, you will need a darkroom to be able to apply and mix your emulsion. A darkroom-safe light is necessary to be able to see while you’re preparing the screen.

  8. Exposure Light - After coating your screen with emulsion, it’s time to place your stencil on it and expose your design using an exposure light.

Check out The Art Of Making: Hand-Screen Printing


But How Do I Print on a Budget?

IMG_7366+2.jpg

We get it, the materials list is long and it’s not looking cheap! - Don’t worry, we got you! Here’s how you can cut costs on your materials.

Tip: You can almost always find some of the materials listed above on websites such as Craigslist, OfferUp, or Facebook Marketplace. This is a good way to get exactly what you need without paying full price.

Screen

With the price of lumber being low, building your own frame can be cost-effective, although screens are fairly affordable. Screens for screen printing range in price from $20 to $35 dollars, however, if you are making a print requiring more than one screen, this can get pricey. We recommend that if you’re just starting to only get one screen and begin printing single color prints.

Screen Printing Press

A press is the most expensive part of this process, it can run you anywhere from $100 to $1,200 dollars but you don’t have to have a press. Many printers have simply used a screen on a table and applied pressure with one hand while printing using a squeegee with the other. The trick is to make sure the t-shirt is placed always in the same spot.

Now, if you’re doing a large print and it requires a little more concentration, we suggest you set up on a table that you don’t mind drilling a hole into, and add door hinges to your screen and the table - this will prevent your screen from moving and you can use both hands while printing.

Ink

Inks can get pricey, but as we recommended, you can find this on Apps like OfferUp or Facebook Marketplace. Otherwise, a way to conserve ink is to minimize your use by pouring smaller amounts when printing and keep pouring as you go. This practice will prevent you from wasting ink.

Learn about What is the Best Ink for Screen Printing

Squeegee

Squeegees are very affordable and you can find a whole kit for less than $10 dollars if you buy directly from a wholesaler.

Darkroom Lighting and Exposure Light

The best way to work with the photo emulsion is in safelight conditions. A darkroom safe light lets you work with the photo emulsion in safelight conditions so that you can see what you’re doing when mixing the emulsion and coating the screen without exposing it to UV light. Because film photography is not as popular anymore, you can find a lot of Darkroom-safe lights on websites such as eBay for $20 dollars.

For exposure lights, you can go to your local hardware supply store and find 500-watt or higher halogen work-lights anywhere from $20 - $40 dollars. They generally have a black housing and clear glass lens at the front with a wire grill covering it. Start by removing the grill and glass from the front. It is a UV filter and when you expose your artwork to your screen you will want maximum UV exposure. This is a great alternative DIY exposure setup.

For a more in-depth list of screen printing materials, check out What is Screen-Printing and What Materials Do I Need?

Author: Irene Floridia - Content Creator


Follow us on Instagram and Facebook!

For FAQ, check out our site!

For any inquiries, send us a message!

OR

send us an e-mail at quotes@familyindustriesla.com

Our showroom at 2755 Fruitdale Street, Los Angeles, CA 90039 is open by appointment only from 10 am - 4 pm Monday through Friday.

What Is The Best Ink For Screen Printing?

IMG_0885.jpg

In screen printing on apparel, there are various techniques and two types of inks that are commonly used, water-based inks and Plastisol inks. So, which one is the best? Well, like many techniques in this field, it depends. In this post, we will compare the two and ultimately give you advice on the best ink for the type of print you are trying to achieve.

What is water-based ink?

Waterbased.jpg

Water-based inks are inks made with water instead of plastic or PVC, water-based inks can be split into two primary ingredients which are water and pigment. One of the main features of this type of ink is the fact that it is a more eco-friendly option. Water-based inks soak into the fabric as opposed to sitting on top of the fabric, therefore, making the print smoother and breathable. Water-based inks are better when printing on light-colored cotton, if the design has a lot of details, and if the ideal print has muted colors.

What is plastisol ink?

plasitsol.jpg

Plastisol ink is made up PVC particles suspended in a liquid plasticizer, it is very durable, flexible, and is commonly used in apparel printing. Plastisol is thick and opaque and it can be mixed easily to create just about any color imaginable. With plastisol ink, we can create special effects like suede, glow-in-the-dark, glitter, shimmer, or metallic. Plastisol is most commonly used on dark-colored fabrics, and it is ideal when printing designs that are less detailed and very colorful.

Which one is the best?

The best ink depends on what type of print, the fabric, and the design you are trying to accomplish as there as many factors to consider. Below we’ve broken-down the considerations for you to make your choice as well as our opinion.

Untitled design (1).jpg

Softness & Breathability

Water-based inks allow for a lighter and softer print which makes the fabric more breathable and comfortable, while Plastisol tends to be a lot thicker and because it is made up of PVC (or plastic) particles, and the ink sits on top of the fabric, it is less breathable around the printed area.

Untitled design (2).jpg

Color

Plastisol inks allow for more vibrant colors and a more accurate color matching process, especially on darker colored fabrics. Vibrant prints using water-based inks are possible, however, the fabric would need to be a lighter color. Plastisol is considered 100% solid, so every bit of it stays on the fabric when cured.

Untitled design (3).jpg

Durability

While both types of inks are durable, Plastisol ink has the reputation to be the most durable, however, some factors need to be taken into consideration. For example, Plastisol ink is thick and can withstand several washes before fading, although, Plastisol inks tend to crack when exposed to high heat. Water-based inks tend to fade faster with frequent washing.

Untitled design (4).jpg

Versatility

With Plastisol inks, you are able to use a variety of different types of fabrics, other inks, and additives. Water-based ink is best suited for 100% cotton fabrics. Blended textiles are less likely to absorb the water-based ink, although there are some tricks to do this successfully, you will run into a lot of difficulties.

Untitled design (5).jpg

Eco-friendliness

While water-based inks are more eco-friendly, but it’s not by much. Why? Well, water-based inks also contain plastic in the form of acrylics and other binders. they rely on solvents that evaporate, leaving the pigmented binder compounds on the garments. The primary solvent is water, but they often contain co-solvents such as formaldehyde and alcohol. These solvents can be harmful and put you at risk unless you use protective gear to protect you from evaporative fumes. Therefore, the two inks are not that much different when it comes to this issue.

Untitled design (6).jpg

Cost

In most cases, plastisol inks tend to have a lower cost. However, as more people prefer softer prints, water-based inks are becoming more popular and print shops are able to reduce their cost by making large purchases with ink vendors. Therefore, consumer prices may vary from shop to shop.


Based on the criteria above, we believe plastisol inks are ultimately the best option in most cases. It is easier to use, cost-effective, and long-lasting ink. Plastisol is sure to maintain the color and details of the design for a long time.


shirtspace-how-to-screen-print.jpg

For questions, send us an e-mail at quotes@familyindustriesla.com, or give us a call at 323.227.1547 and we'd be happy to help.

If you’d like a quote, contact us!

Our showroom at 2755 Fruitdale Street, Los Angeles, CA 90039 is open by appointment only from 10 am - 4 pm Monday through Friday.


Author: Irene Floridia - Content Creator

Screen Printing with Foils and Metallic Inks

In screen printing there are different types of inks, finishes, and techniques. Foil and Metallic finishes are a good way to make your print stand out. These types of screen printing techniques add textures and vibrancy to apparel prints as well as flat stock prints such as posters. We’ll take you into the ways these techniques are applied and show you examples.

What is Foil Screen Printing?

Foil Screen Printing is similar to traditional screen printing but an adhesive glue ink is used instead of plastisol inks. The foil is cut in squares off of a large roll of foil. It is then placed over the glue adhesive print and heat pressed. The heat press activates the glue adhesive and grabs onto the foil. After the print cools, the foil sheet is pulled off and the excess foil is peeled off of the garment.

Foil works great for simple accents to a design as well as a loud bold statement. Foil prints give a mirror like effect to your screen prints and really shine when any light hits them.

There are a few different types of foils, holographic foils gives the most dynamic effect as it reflects light creating a variety of different colors as seen on the example image.

Foil printing is a premium screen printing method so you need to make sure you’re only working with true screen printing experts like us!

Check Out How To Screen Print Foil Transfers with Wilflex HD Clear Foil Adhesive

Pros

  • No set-up costs

  • Can be used on all types of products/garments

  • Great for letters and numbers

  • Fast process

  • Perfect for single color designs

  • Perfect for sports garments

Cons

  • Material isn’t breathable

  • Durability not as good

  • Struggle with gradient designs


What is Metallic Screen Printing?

Unlike printing with foil, to achieve a shiny metallic print you don’t need an overlay treatment or transfer because there are metallic inks that are used in the same way plastisol inks are utilized. The most used metallic inks are silver and gold and give off a shiny but non-reflective finish. Metallic inks work best when there are no small details to fill as the ink is a bit thicker than normal.

Metallic inks not only look nice, they will also help take your marketing materials to the next level by providing a more “expensive” look. When you incorporate metallic inks, you create a shiny and glossy effect that will make your full color postcard, business card, catalog or brochure stand out from the pack.

Pros

  • Smoother print finish than glitter inks

Cons

  • Not good for fine detailed artwork

  • Plastisol based metallic inks have a rubbery hand feel

List Of Metallic Inks:

  • Pantone 873 – Metallic Gold

  • Pantone 877 – Metallic Silver

  • Pantone 8003 – Metallic Platinum

  • Pantone 8021 – Metallic Champagne Gold

  • Pantone 8062 – Metallic Pink

  • Pantone 8100 – Metallic Purple

  • Pantone 8201 – Metallic Blue

  • Pantone 8281 – Metallic Green

  • Pantone 8381 – Metallic Moss


How To Design fOR fOIL pRINTS AND Metallic Inks

If you’re thinking about using metallic ink on your next print project, it’s always best to talk to your printer first to make sure they have experience with this type of ink. You may also want to ask to see samples of projects using metallic ink.

1. Choose your apparel blanks with color pairings in mind 

While starting with a well-chosen garment is important for every custom apparel project, the look of unconventional and eye-catching metallics will change greatly with the blank you choose.

Muted colors like olives and soft earth tones will tone down and refine metallics, while jewel tones - like emerald, deep reds and royal purples or blues - will create a flashier look. 

2. Consider surface area for an impactful design 

One of the ways to get the most impact from your metallic embellishment is to incorporate it into a larger surface area, which will best catch the light and give your design the most noticeable sheen. 

On the reverse, incorporating metallics in smaller areas or a design with thinner lines can bring an ink that’s admittedly not for the faint of heart to a more approachable level. Make sure to consult your printer.

3. Use metallics as an accent with other inks

Not every design needs to go full-on with foils or metallics, all of these specialty services can be paired with standard inks. 

Use metallics and Foils to highlight a specific aspect of your design, whether it’s a word you’d like to emphasize or an element of your graphic you want to really stand out. 

4. Typography heavy tee 

A popular and easy way to include metallics and foils is with text. The above tips can be equally helpful in designing your typography tees

To emphasize the sheen of your specialty ink, choose a bold, blocky font and a larger text size. To include metallics in a less overt way, use a thinner font or combine inks to highlight a specific word or letter. 

Don’t be afraid to play with positive and negative space - A knockout (or reverse text) design is a great way to increase surface area while using the color of your apparel blank to your advantage.

Author: Irene Floridia - Content Creator


Follow us on Instagram and Facebook!

For FAQ, check out our site!

For any inquiries, send us a message!

OR

send us an e-mail at quotes@familyindustriesla.com